
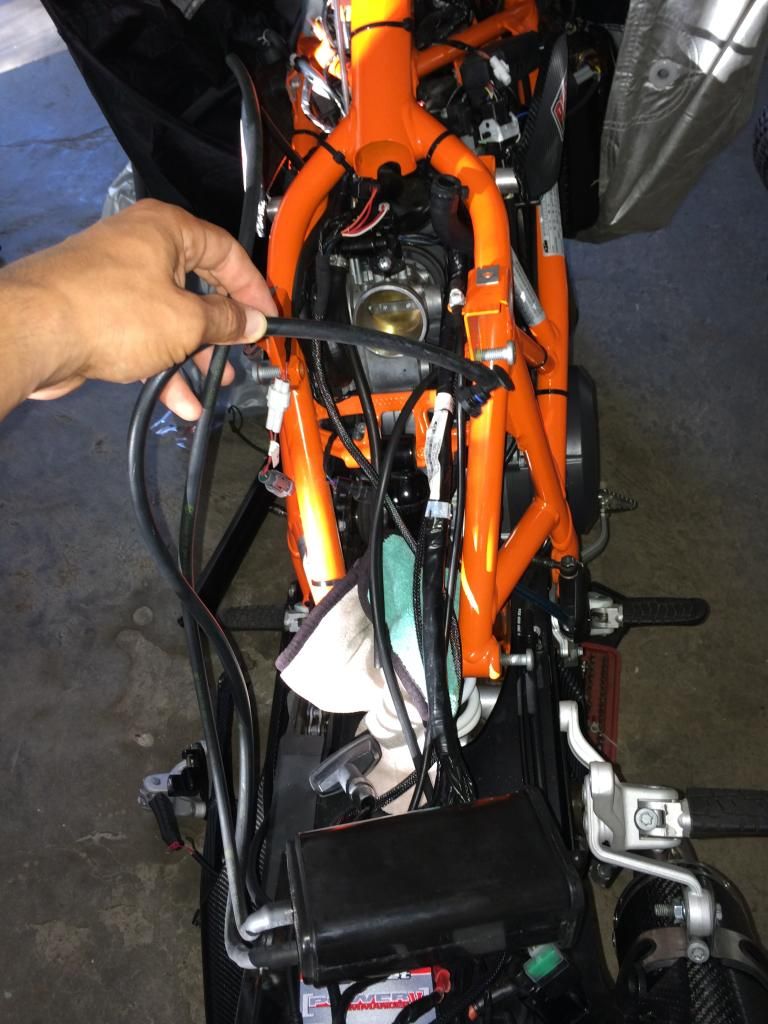
Alright fellas well I hadn't seen anyone do this with their Duke or at least post it up and since getting the auto tune it was necessary to remove the SAS so it doesn't screw with the Autotune. I had originally bought the SAS valve removal kit thinking that it was the same as the previous years since that's how it was listed online in order to keep the FI light from coming on. I was taking it apart when I noticed that the hole that gets plugged up already is plugged and it doesn't have the solenoid so I basically had no use for it. Contacted the seller (smart moto) and he refunded me the money without having to return it since he wasn't aware. So I bought just the blanking plate for the 690 SMC since they use the same SAS. I'll be updating this as I go along maybe I'll take some pictures in the daylight so everything is clearer and replace these.
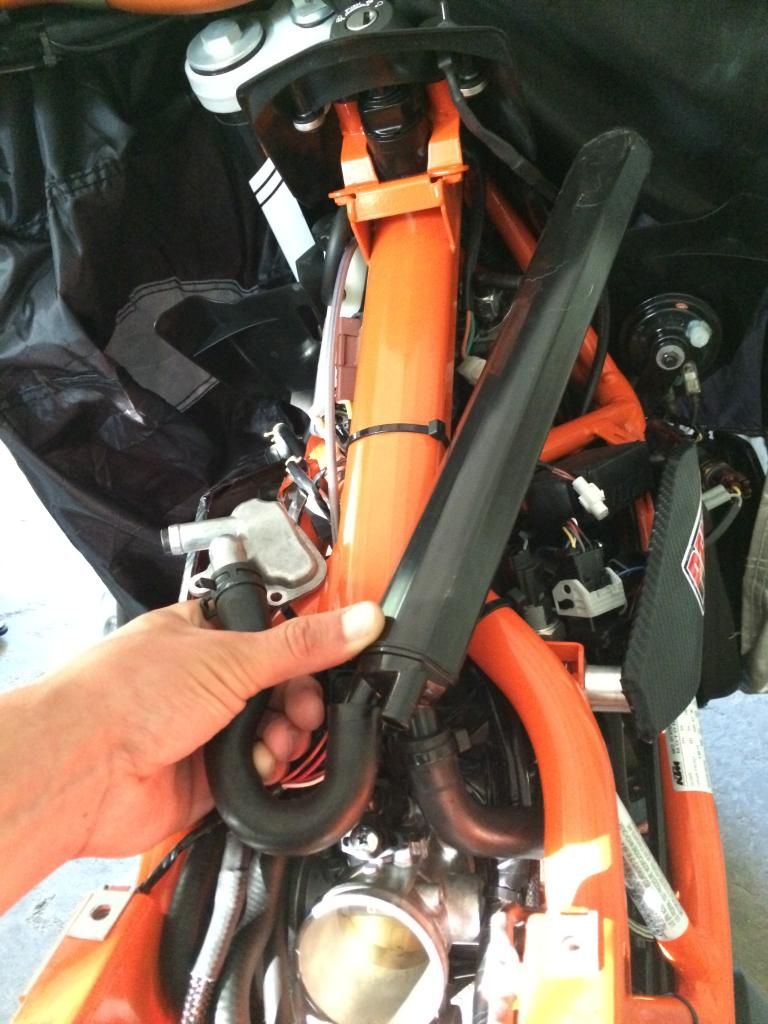
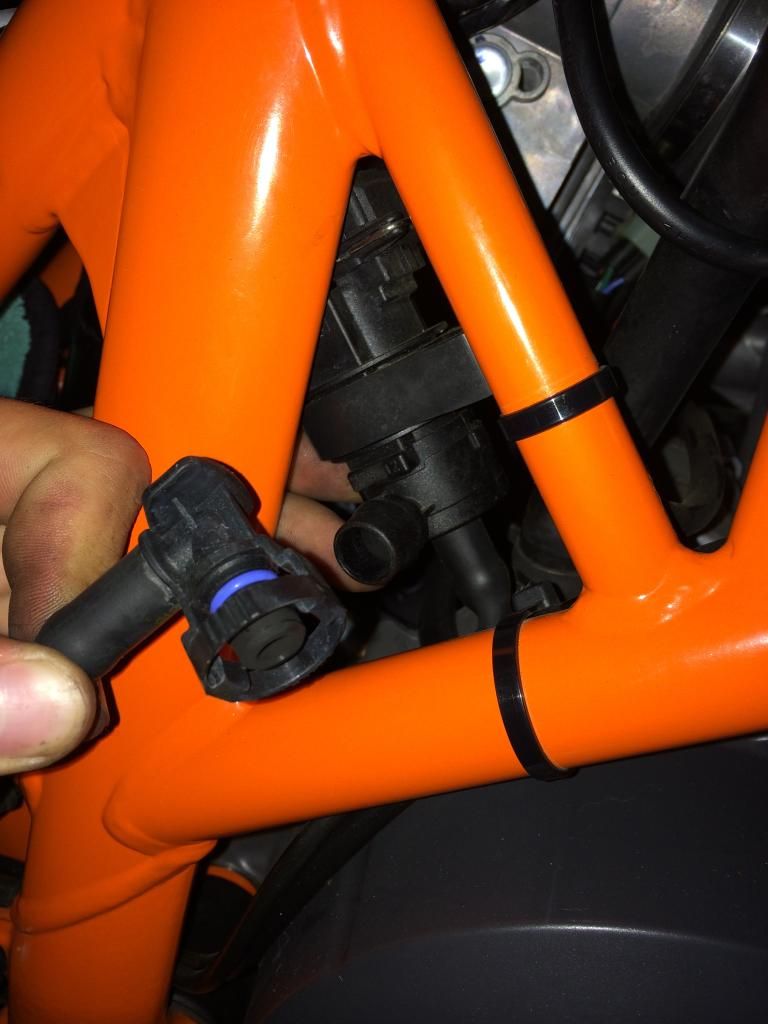
Took the valve off and now on the new model they have this huge plastic can which is an air/oil separator in the middle of the frame that one of the hoses connect to from the SAS which from the plastic tube there's also one that gets routed to the airbox and also another on the bottom that another hose gets connected from the crankcase which is the crankcase breather. By the way in order to get to this the airbox will need to be taken off. I waited till I bought the cam and airbox to do this for this very reason. Got a better picture here you can see where the SAS is connected to the plastic pipe and also the crankcase breather. The only one missing is the top right because that goes to the airbox which is currently off. You'll have to take off your air box and I pulled out the injector and loosened the throttle body to angle it down to remove the air/oil separator.
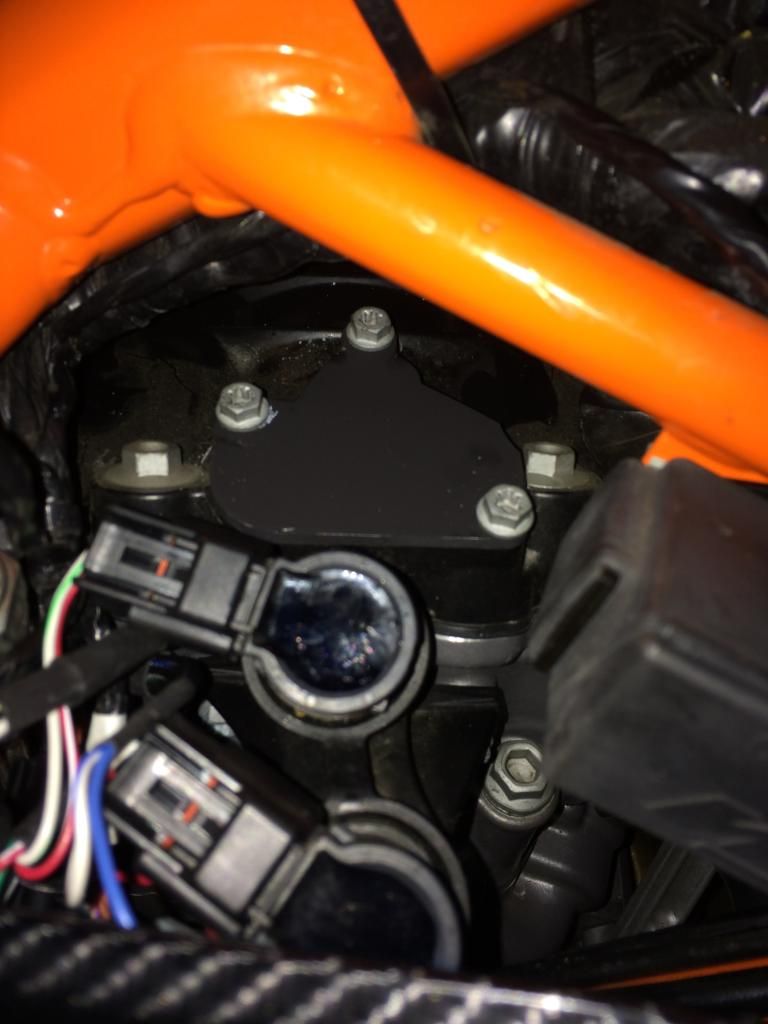
Here's the SAS blanking plate it was polished but I used some DEI black silicone paint on it so it wouldn't stick out like a sore thumb and blends in.
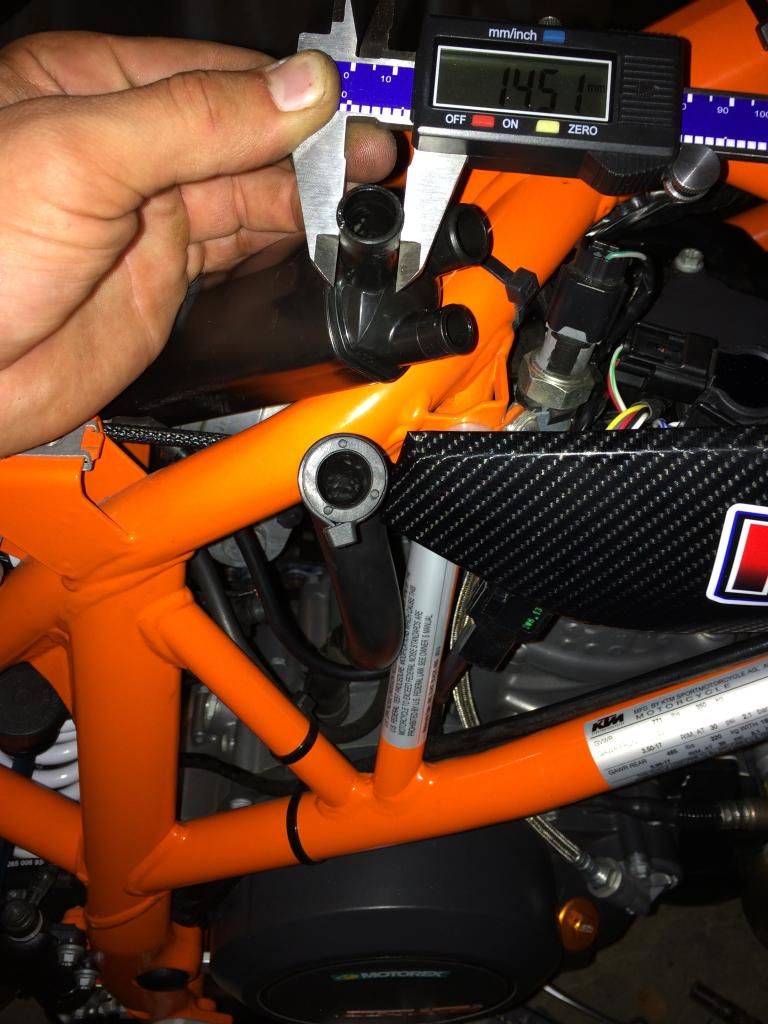
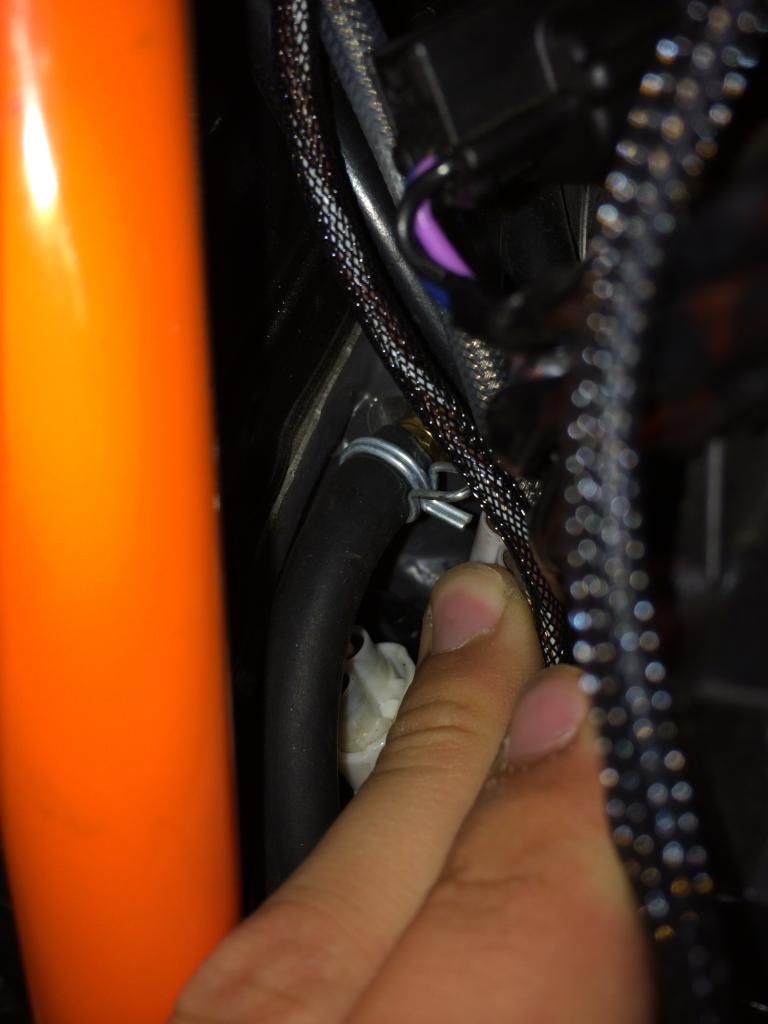
Now all you'll have to do is plug the hole in the airbox which I don't have a plug for yet since I just started this last night but even a piece of duct tape on the inside of the airbox will work if you can't find a plug for it. Now all your left with is the crankcase breather hose. Now I measured the size of the hole and I'll be ordering a small crankcase breather filter so that dirt doesn't get inside and let's it breath and you'll be done with the SAS removal:
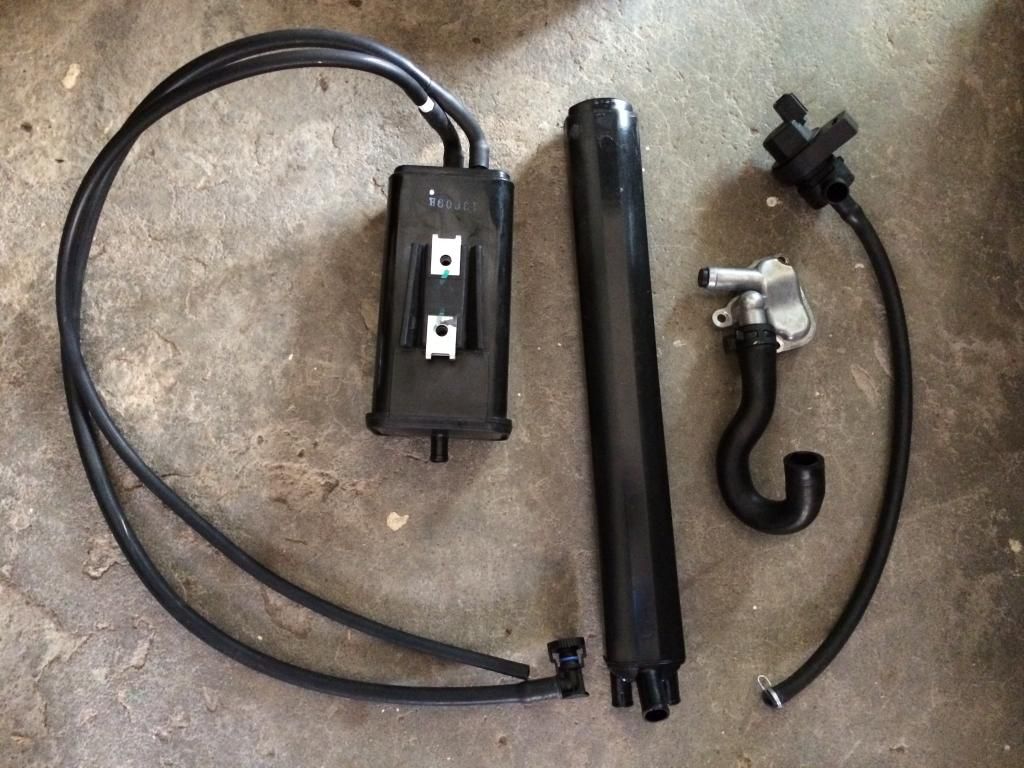
Now for the charcoal canister. This is located behind the battery. You can't see it unless you take your battery out. There's two hoses that are connected to the gas tank that you'll have to remove on the left side of the gas tank. Here's what the whole assembly looks like once removed. Got a better picture of this I placed it where it would go and semi routed the lines to where they went so you guys get a better idea.
Now the second gets connected to the solenoid which is on the right side of the throttle body (if your sitting on the bike) that you'll have to disconnect. Once you do you can pull the canister out.
Here is a picture of the hose you'll be pulling off the left side of the throttle body that you will have to plug with a 1/4" plug.
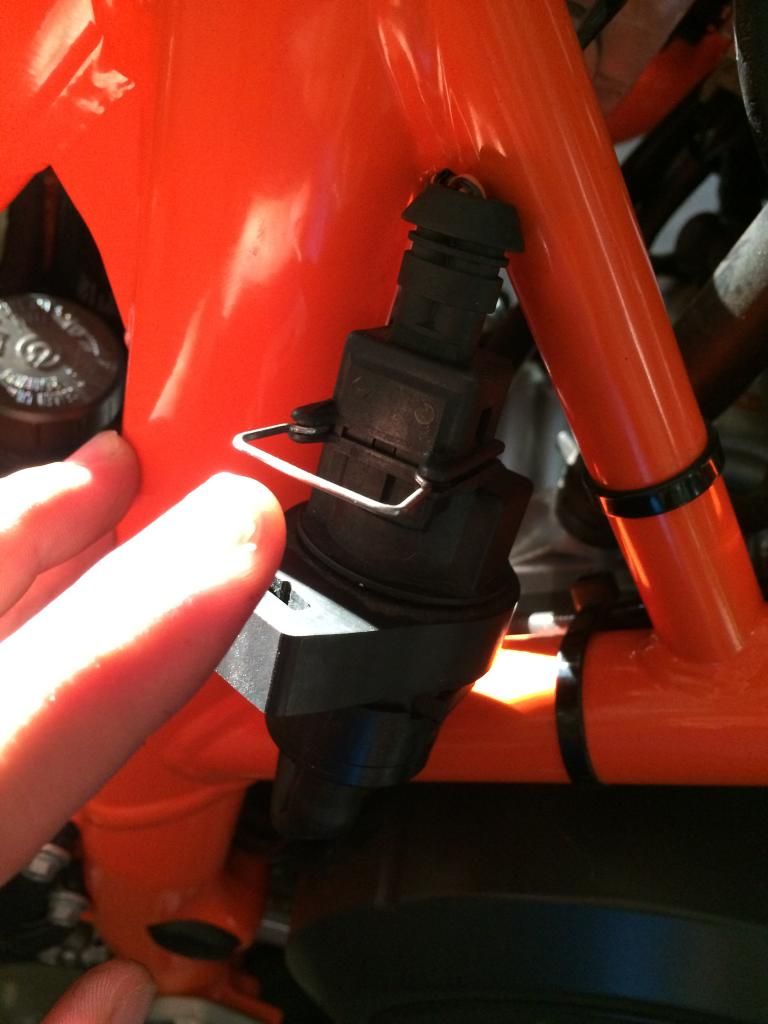
Now to remove the solenoid you'll have to pull this metal clip out to disconnect it. Once you've done that and have pulled out the hose next to he throttle body you can pull out the solenoid. Keep in mind you WILL need a resistor if you pull this off.
Once your done taking everything off this is what you should have that you don't need anymore. Bunch of emissions crap definitely some slight weight savings there.
HOW TO MAKE YOUR OWN RESISTOR IS ON PAGE 3.
Took the valve off and now on the new model they have this huge plastic can which is an air/oil separator in the middle of the frame that one of the hoses connect to from the SAS which from the plastic tube there's also one that gets routed to the airbox and also another on the bottom that another hose gets connected from the crankcase which is the crankcase breather. By the way in order to get to this the airbox will need to be taken off. I waited till I bought the cam and airbox to do this for this very reason. Got a better picture here you can see where the SAS is connected to the plastic pipe and also the crankcase breather. The only one missing is the top right because that goes to the airbox which is currently off. You'll have to take off your air box and I pulled out the injector and loosened the throttle body to angle it down to remove the air/oil separator.

Here's the SAS blanking plate it was polished but I used some DEI black silicone paint on it so it wouldn't stick out like a sore thumb and blends in.

Now all you'll have to do is plug the hole in the airbox which I don't have a plug for yet since I just started this last night but even a piece of duct tape on the inside of the airbox will work if you can't find a plug for it. Now all your left with is the crankcase breather hose. Now I measured the size of the hole and I'll be ordering a small crankcase breather filter so that dirt doesn't get inside and let's it breath and you'll be done with the SAS removal:

Now for the charcoal canister. This is located behind the battery. You can't see it unless you take your battery out. There's two hoses that are connected to the gas tank that you'll have to remove on the left side of the gas tank. Here's what the whole assembly looks like once removed. Got a better picture of this I placed it where it would go and semi routed the lines to where they went so you guys get a better idea.

Now the second gets connected to the solenoid which is on the right side of the throttle body (if your sitting on the bike) that you'll have to disconnect. Once you do you can pull the canister out.

Here is a picture of the hose you'll be pulling off the left side of the throttle body that you will have to plug with a 1/4" plug.

Now to remove the solenoid you'll have to pull this metal clip out to disconnect it. Once you've done that and have pulled out the hose next to he throttle body you can pull out the solenoid. Keep in mind you WILL need a resistor if you pull this off.

Once your done taking everything off this is what you should have that you don't need anymore. Bunch of emissions crap definitely some slight weight savings there.

HOW TO MAKE YOUR OWN RESISTOR IS ON PAGE 3.
")


